Ever wished your local AI could just… write and publish blog posts directly to your WordPress site? Well, turns out you can make that happen pretty easily with AutoWP MCP and LM Studio.
What You’ll Need
- LM Studio (version 0.3.17 or newer)
- Docker Desktop
- A WordPress site with admin access
- About 15 minutes
The Setup Process
1. Get the AutoWP Code
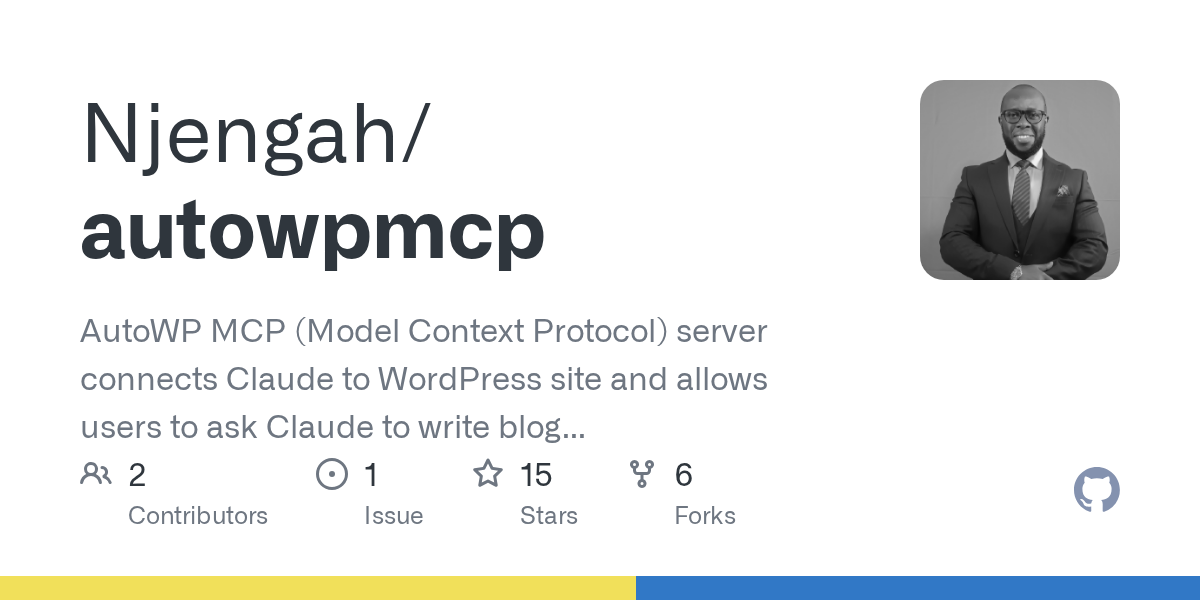
First, grab the AutoWP MCP server from GitHub:
bash
git clone https://github.com/Njengah/autowpmcp.git
cd autowpmcp
2. Create a Docker Container
Create a file called Dockerfile in that directory:
dockerfile
FROM node:20-alpine
WORKDIR /app
COPY package*.json ./
COPY tsconfig.json ./
RUN npm install
COPY src ./src
RUN npm run build
CMD ["node", "build/index.js"]
Then build it:
bash
docker build -t autowp-mcp:latest .3. Configure LM Studio
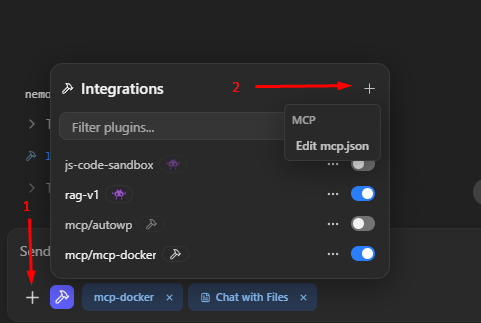
Open LM Studio and go to the Program tab (looks like </> in the sidebar). Click Install > Edit mcp.json.
Add this to your configuration:
json
{
  "mcpServers": {
    "autowp": {
      "command": "docker",
      "args": [
        "run",
        "--rm",
        "-i",
        "autowp-mcp:latest"
      ]
    }
  }
}
Save the file and restart LM Studio completely.
A little extra information because sometimes GUI Designers seems to have a miserable life and need to make mine worse too after a update.. when you have LM Studio v4.0 or higher the edit mcp.json is hidden here:
4. Get Your WordPress Application Password
This is important – you can’t use your regular WordPress password. Here’s how to create one:
- Log into your WordPress admin
- Go to Users → Your Profile
- Scroll down to Application Passwords
- Create a new password (give it a name like “LM Studio”)
- Copy the password – it’ll look like:
xxxx xxxx xxxx xxxx
5. Test It Out
Load a function-calling model in LM Studio (look for the 🔨 icon – models like Qwen 3 work great). Start a new chat and you should see “autowp” available at the bottom.
Try asking it to connect to your WordPress site with your credentials. Once authenticated, you can ask it to create posts, manage categories, or handle other WordPress tasks.
Pro Tips
Spaces in Paths: If you’re setting up file access and have spaces in your directory paths (like F:\Projekt test), wrap them in quotes: "F:/Projekt test"
Save Your Credentials: Add your WordPress site URL, username, and application password to your system prompt so you don’t have to enter them every time.
Model Selection: Use at least an 8B parameter model with tool-calling capabilities. Set your context window to 8k-16k tokens for best results.
Why This is Cool
Once set up, your local AI can handle WordPress content creation entirely offline. No cloud services, no API costs, and your WordPress credentials stay on your machine. It’s perfect if you’re managing blogs, need to batch-create content, or just want to experiment with AI-powered publishing.
The whole thing runs locally through Docker, so you’re in complete control of the process. Pretty neat for a 15-minute setup!